
Find the leak in your pond:
- If we can find the hole then we can begin our pond liner repair.
- Let the pond water level drop to its lowest point. This is the level of our hole or lowest hole if there are more than one.
- Pump another 50mm (2″) of water out of the pond.
- Check around the edge 50mm (2″) above the water level to find that hole. Look for a dark spot, shadow, puncture, v-shape or line.
- Take a look at our leak detection page to help you assess and locate a pond leak.
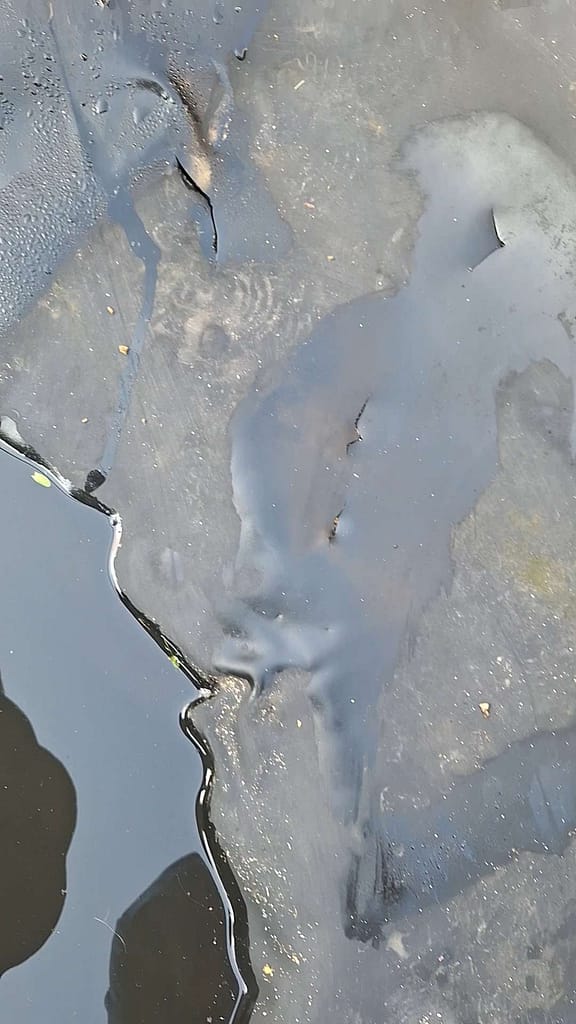
Prepare the pond liner for repairs:
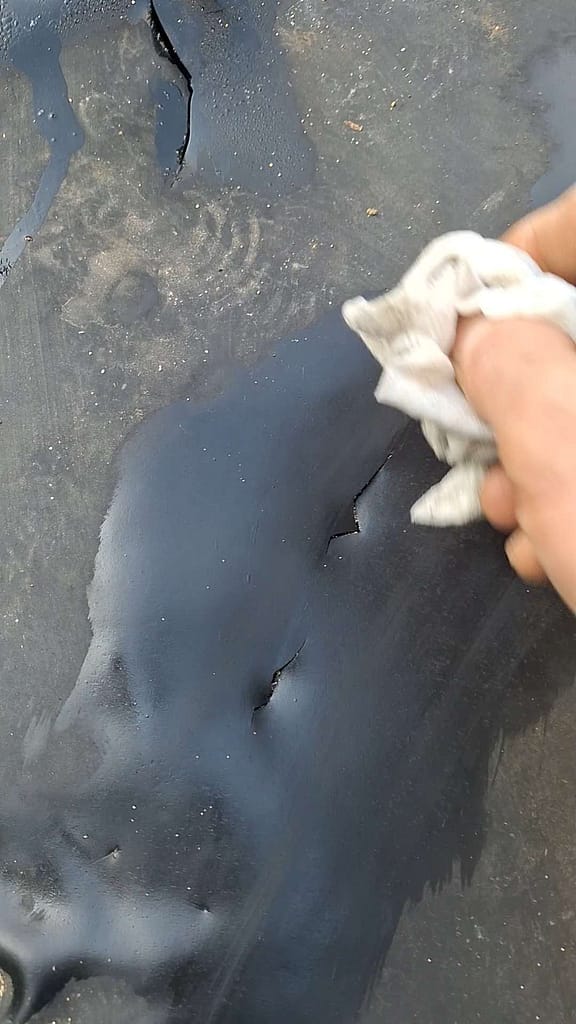
- Clean the area around the hole with appropriate tools depending on the age and condition of the liner. Usually clean water and a brush followed by a scourer and paper works well.
- Once the paper comes back clean we must dry the area around the hole including above it if it is on a side as we need to prevent water running down onto the patch once positioned, use a heat gun and/or paper towel for this.
Make a pond liner repair patch:
- Take a piece of clean EPDM liner and lay it on a flat surface.
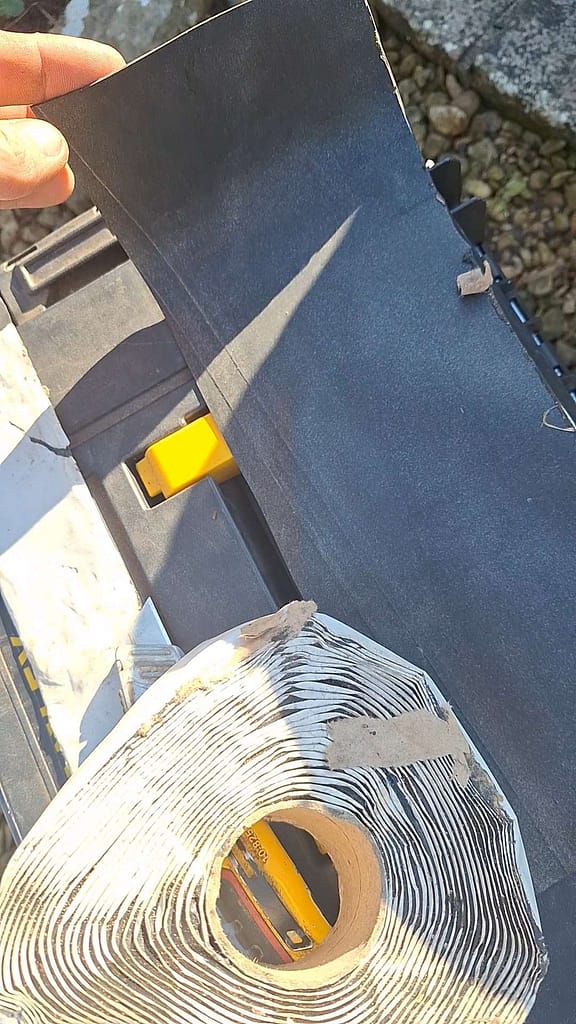
- Unroll some mastic tape and remove one side of the protective paper.
- Lay the exposed side of the tape on to the liner and gently smooth out across the surface. Ensure there are no air bubbles.
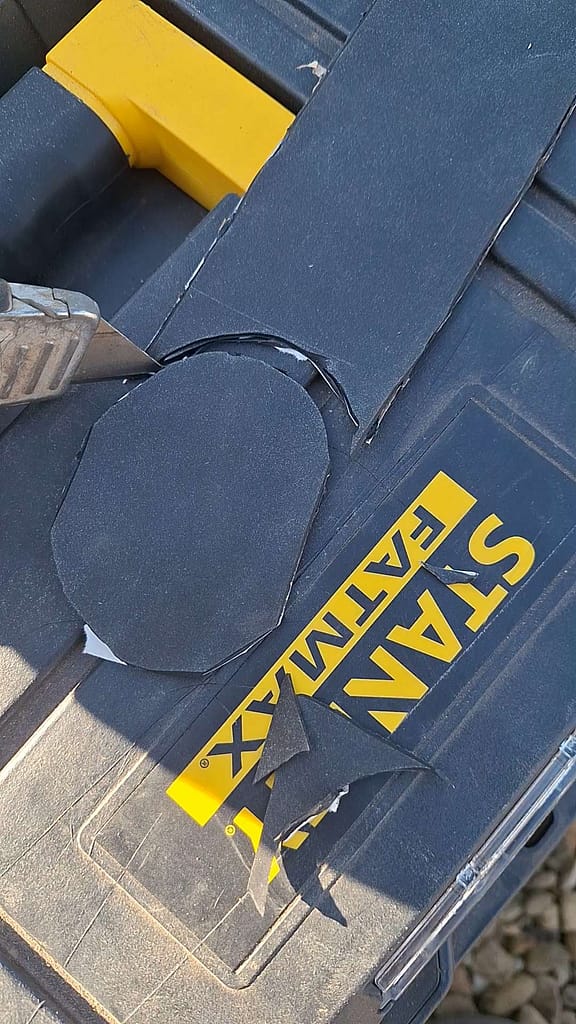
- Cut the excess liner away from the sides to leave you with a strip of liner patch.
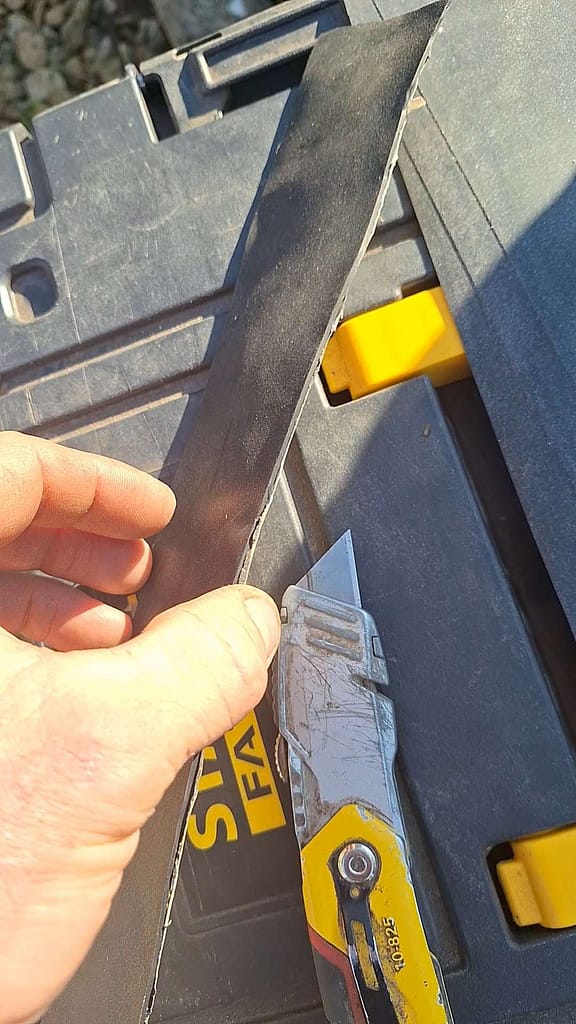
- Hold the liner patch next to the hole and measure off how much is needed. It is best to oversize the patch for best results. The back of a blade can be used to gently mark the length required.
- Use scissors to cut the patch to size, take care to round the ends or entire patch to reduce edges that can catch in the future.
Apply the patch to the liner:
- Take your cut patch and dry run to double check it will cover the area.
- Peal back the remaining paper from your patch. Do not put it down as it may gather mess.
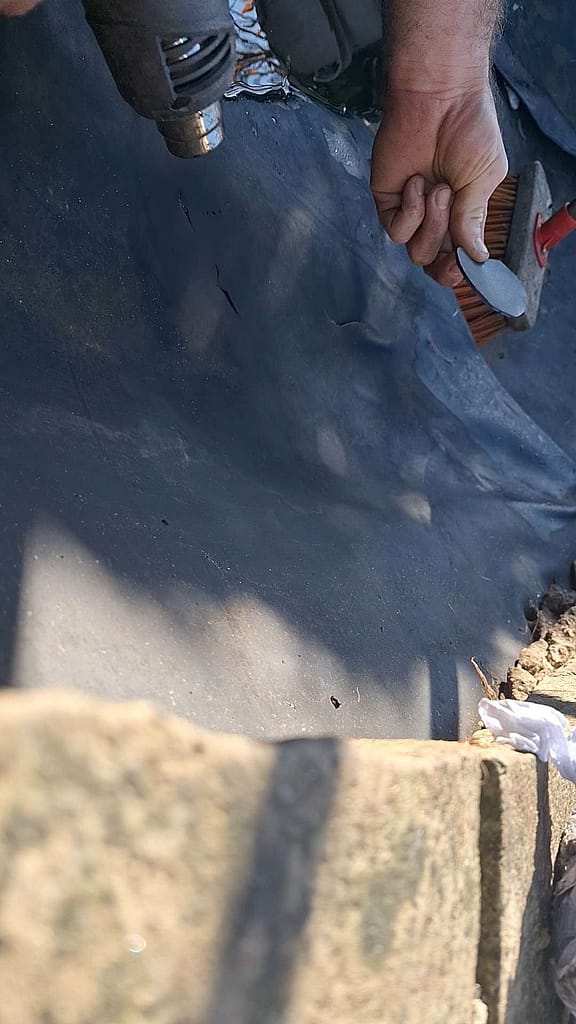
- Use the heat gun to warm and soften the liner.
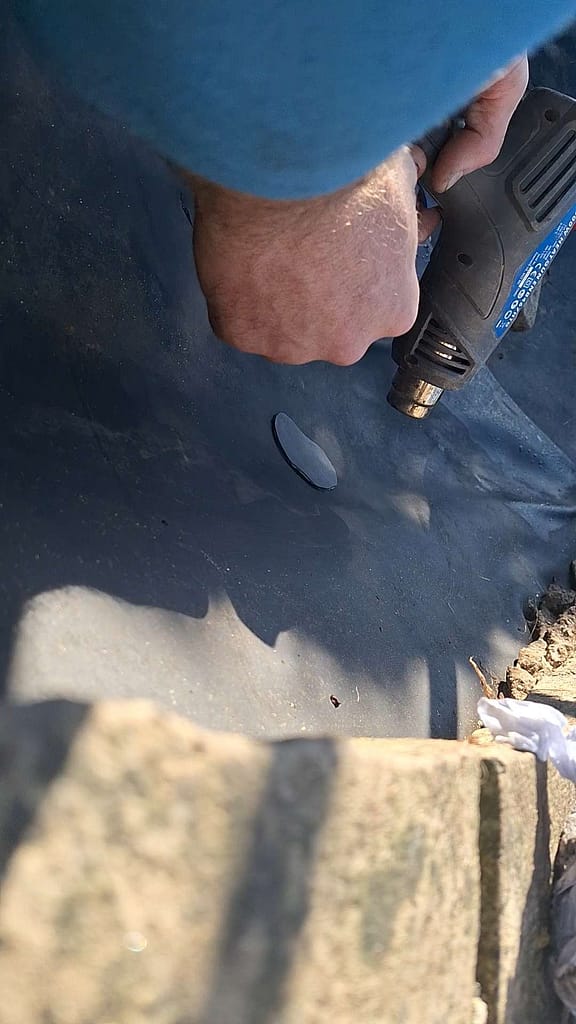
- Apply the patch and gently smooth in position.
- Apply heat from the heat gun to warm the patch to a just tolerable level of heat, smooth the patch down in to position, you will notice liquid mastic reaching the edge of the patch. Do not overheat the main liner as you could cause further damage.

Finishing up:
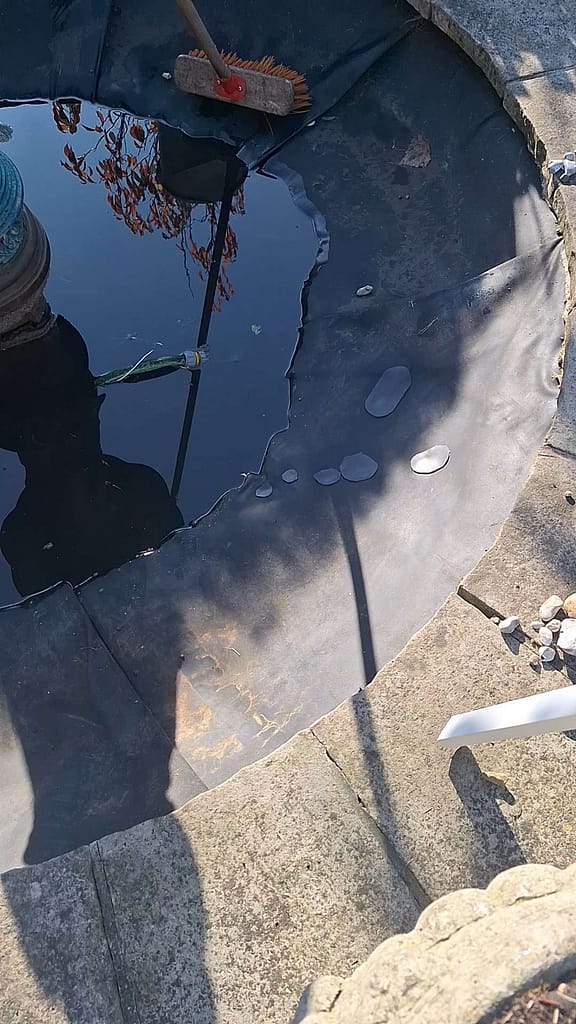
- Let the pond liner repairs sit dry for 24hrs preferably before filling up the pond. Keep it dry and clean until it has set.
Notes:
- Multiple holes can be patched with one larger or longer patch if required. This can be a faster and more secure method rather than making several smaller patches.
- It is important to expand your search for holes around the area of another hole or at the same height as another hole, as they can be grouped.
- Holes are often near the surface of the pond around the edge if an animal has been following the edge to find a way out.
- Holes are often on the shelf surfaces.
- Holes often coincide with another activity or action such as garden or pond maintenance, tree pruning, scaffolding erection or window cleaning etc.
- Repairing EPDM liner is fairly straight forward and with experience you can take on more complex tasks with confidence.
- Wear appropriate personal protective equipment (PPE) at all times.
- There are various repair kits available off the shelf which use mastic or tape.
If you are experiencing water loss, have a pond leak or hole in your liner that you would like our help with, please Contact Us here, so that we can assist you.